Canon 7D Settings for Wildlife Photography
Hi all and welcome to my blog! On this Blog I will try to upload new images every couple of days and post on different subjects that I found interesting, so check back often.
With it, I also hope for some interaction with you guys and some direct exchange of experiences.
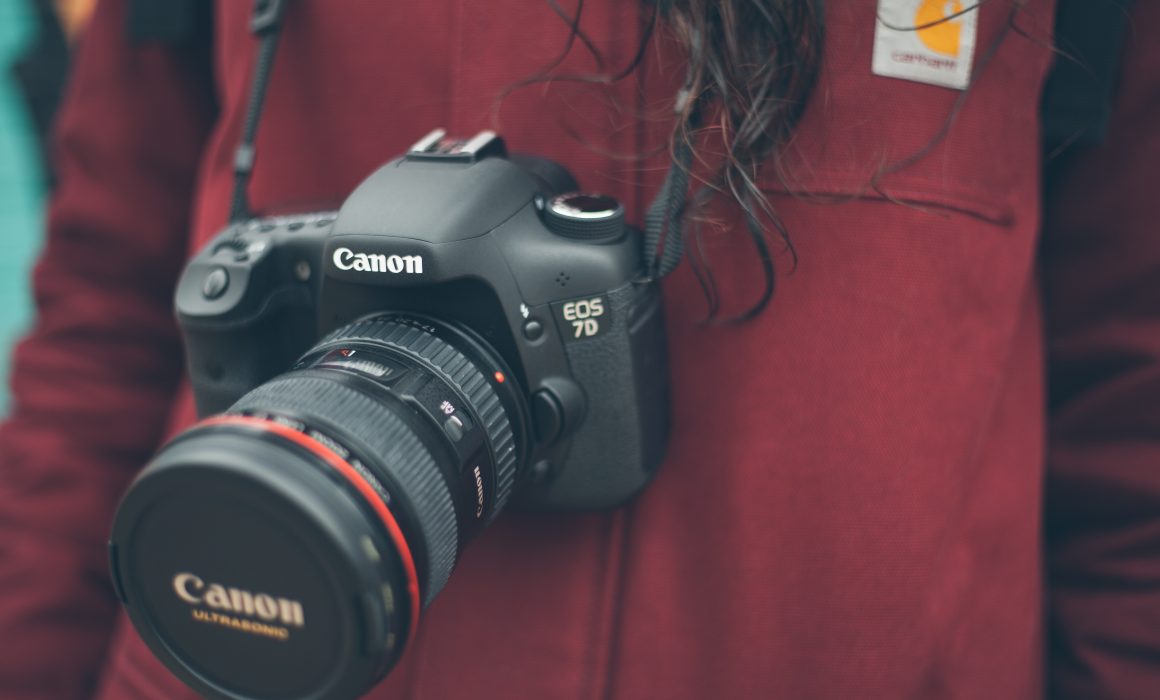
Now for the real subject of the post, the Canon 7D is my main and only camera at the moment. I think its a great camera and would like to share some of the settings that have work for me for getting the most of my images.
I will start from the Menus from Left to Right(The red ones) If I don’t mention a setting assume it is in the default position.
1 Menu

- Quality is always set to RAW
- Release shutter without card -> Disable (This will warn you if you forgot to insert the memory card)
- Review time->Off (To preserve battery life)
2 Menu

- Color space ->Adobe RGB
3 Menu
Unchange
4 Menu

- Silent shooting ->Disable (This will give you 8 fps instead of 7fps)
5 Menu
Now with the blue menus
Unchange
6 Menu

- Highlight alert -> Enable
- AF point Display ->Enable
- Histogram -> Brightness
7, 8 and 9 Menus
All the yellow menus are unchanged, on the third yellow menu you should insert your copyright info.
10 Menu
On the orange menus, you can set your custom settings and probably some of the most important in the camera.

C.Fn I: Exposure ->Unchanged
C.Fn II: Image
Highlight tone priority -> Disable
C.Fn III: Autofocus/Drive
C.Fn III 1 AI Servo tracking sensitivity
I normally have the tracking sensitivity in Normal or Slow. Slow is good when tracking birds in flight. The auto-focus will be a lot less “jumpy” if bird fly’s in front of a tree for example. If I am not doing in fly shots I leave this in Normal.
C.Fn III 6 Select AF area select. mode
Select Register and you can select your autofocus modes. I only leave out the first auto-focus mode, I don’t really like the camera choosing the autofocus points for me so I never use this option. The other 4 autofocus modes are left on
I prefer to use AF point expansion and Single point for birds in flight. Spot AF is good for the perched bird.
C.Fn IV: Operation/Others

In this menu, you can change what most of the buttons of the camera do. The main change on this menu is to enable Rear Focusing
Rear focus involves focusing by pushing a button on the top right back of the camera (rather than by pushing the shutter button). Aside from possibly better AI Servo AF tracking for flight photography, there are other advantages to using rear focus. When using rear focus you always have AI Servo set. You will never need to switch back and forth from AI Servo to One Shot. To photograph flying birds or to focus track walking, running, or swimming birds, or perched birds that are changing their posture or head position almost continuously simply press and hold the rear button to focus track that you have set for AF and press the shutter button when you want to create an image.
To change to Rear Focusing you need to set ‘Shutter butt. half-press’ to ‘Metering start.’ and changed the third button (‘* AE Lock button’) to ‘Metering and AF start.
And that’s it for the menus. Have fun with the 7D, let me know how it works for you!
HELLO Chris,
i have a 7D since it came out many of my shots come out blured or out of focus to slow shutter speed or camera shake problem, set it to your settings can no longer focus by pressing the shutter, please inform me how you set focus on a flying bird and press the shutter at the same time. Thank you
Kind regards,
Hi Charles,
That change would be the last section on the post. C.Fn IV: Operation/Others
Like I mention on the post, I focus using rear focus. That means that It will no longer focus with the shutter button but with one of the buttons on the back of the camera.
In this occasion I change it to the ‘* AE Lock button’.
This take some time to get use to. But I feel that it gives me better control and also enables me to track my subject better.
To focus on a flying bird set your 7D in Servo Mode and you simply hold your thumb on the AE lock button (*). This will track the bird as long as you hold the button. When you have your shot, simply press the shutter button, if you dont release the AE lock Button the camera will keep tracking the bird.
If you dont like this and you want to change it back(Although I recommend that you give it a try).
Simply go to the C.Fn IV: Operation/Others section and chante Shutter butt. half-press to Metering and AF start
Thank you very much, I just got my 7D and I’ve had a hard time getting a sharp focus. I’m going to photograph some birds tomorrow I’ll let you know how it goes.
Hi Chris , I wonder if you can give me any explanation of what could be wrong as I am going crazy trying to figure out why I am getting what I think is luminace noise when using my 7D with my 100-400 L IS lens , usually with shots at air shows or flying birds . I can sort of clean up the image using the Luminance bar on literoom but I only shoot at 200 or 400 asa so I dont think there should be this noise . I can mail you a pic or two to check . Thanks Regards Brian
Hi Bryan,
Yeah, there should not be any noice at ISO 200 or 400.
You can send me your pic to [email protected] and I can try to help you out.
Regards
Chris!
Hi Chris…..
I use a Canon 7D with a 100-400 L IS lens & am very keen to get my bird shots (both static as well as flying) perfectly right / tack sharp.
When should I use Av Mode / Tv Mode ?
How do I figure out the ISO setting for a particular scenario ?
When do I go down/step up one/two stops on my Exposure Compensation ?
When do I use Continuous shots rather than single shots, if at all ?
And……..how do I handle low light & Bright light situations ?
I only use my Camera Hand-held at all times……..
I would be glad if u could clarify
Thanks & regards
Prem
Hi Chris: I have a Canon 7D with a Sigma 120-400mm lense. In auto focus, the lense continually jumps back and forth between focus points and never stops and achieves proper focus. How can I adjust my settings to fix this problem? Thanks for your help.
Hi Howard,
Hum, that’s kind of hard from troubleshoot from here, but have you try with different auto focus points? Normally the center point should give you better results. Are you using a full autofocus region or just a single point? Does the subject that you are trying to auto focus has sufficient lighting and contrast? Do you have enough distance for the lens to autofocus properly(Normally from 4 to 6 meters?)
Let me know if that helps
Hi Chris: Thanks for your comments. I have – since – learned that the Sigma lens is not compatible with the canon 7D. I tried the sigma lens on a friends 5D and 7D – and the auto focus still stuttered and refused to focus. So – hooou-raa for sigma – think I can get my money back!!!
hi my name gary I have a canon 7d an I sigma 150 /600 cn you tell me the shutter speed to shoot with when take birds in flight an statick
Hi Gary,
Ideally it should be the same as your maximum zoom length. So for your sigma at 600mm it should be 1/600 to get a sharp image. But it totally depends on light conditions, if you are on a tripod, etc.
But yes, if you like to get birds in flight it would not go lower than 1/400.
Let me know if it helps
Chris.
Hi Chrisi ,
My 7D is behaving strange, Through the view finder I see sharp image and when I see on my monitor they are not sharp, any reason for that, I am using a tripod and good enough shutter speeds, earlier the images were tack sharp than I tried changing the focus mode button and since then its behaving like this, I have again got mu focus on spot but still no improvement, please let me know what I should do or what must be wrong, I am using canon 100-400 mm and canon 600 mm at f/4. with a Manffotto and a gimble head.
Hi Chris,
I came across your page by incident. Thanks for sharing your experiences but one comment on step 2.
Since you set the file type (Menu 1) to RAW only, the choice for the Adobe color space in step 2 has no effect.
The color space only aplies to JPG files and not to RAW camera data. It will be an option when exporting from
Lightroom for instance.
Hi Chris…..
I use a Canon 7D with a 100-400 L IS lens & am very keen to get my bird shots (both static as well as flying) perfectly right / tack sharp.
When should I use Av Mode / Tv Mode ?
How do I figure out the ISO setting for a particular scenario ?
When do I go down/step up one/two stops on my Exposure Compensation ?
When do I use Continuous shots rather than single shots, if at all ?
And……..how do I handle low light & Bright light situations ?
I only use my Camera Hand-held at all times……..
I would be glad if u could clarify
Email is [email protected]
Thanks & regards
Shehan
I’ve had a 7D since last summer, I’m having horrendous problems with focusing too. Usually use Sigma 150-600 (use the USB dock for that) but even with that set up, the camera just doesn’t seem to take clear pictures even when I use the Canon 70-300 and the normal lens that came with my old 1300D.
Disappointment is an understataement, just want my camera to work. I’ve tried again using diffrent settings on bords in flight from a hide and have pulled my haor out tonight going through rubbish after rubbish photograph.
Off to photograph Red Kites next month so need to get this sorted out asap
Hi Chris. I have. D7 and a Sigma 150-600 contemporary lens. The camera will not record an image through the TV setting. works with all my lenses ok and the sigma works on TV setting on my friends rebel 5. Is it something i’ve done?
Dave
Wales UK